Hello everyone!
I am back with another layout using the March mood board. I knew this was going to be one of my favourite mood boards. My previous layout was soft and feminine. This layout is a grunge mixed media layout. I used the Week 4 sketch designed by Jen Hedger for inspiration.


Here is my layout.


To create the mixed media background, I used the Tim Holtz stencil Cargo, red and orange acrylic paint and stamped on the corners of the white cardstock. I outlined some of the letters with a thin black Art Liner. I randomly used the Words of Wisdom Duty Attic stencil. I also used a brick and chevron background stamp. I randomly stamped with a arrow stamp. I then used washi tape and very old Making Memories rub ons in different fonts. Despite how long I have had these they still worked fantastic.
The next step as to colour the chipboard pieces. Here are some close-ups.


Because of the busy background I kept my chippies simple and just coloured them with black and red acrylic paint. I glued some of the little hearts from the Heart Attack Panel used on my previous layout to the Polaroid Frames.
When everything was glued down I made splatters with diluted white gesso and black ink.
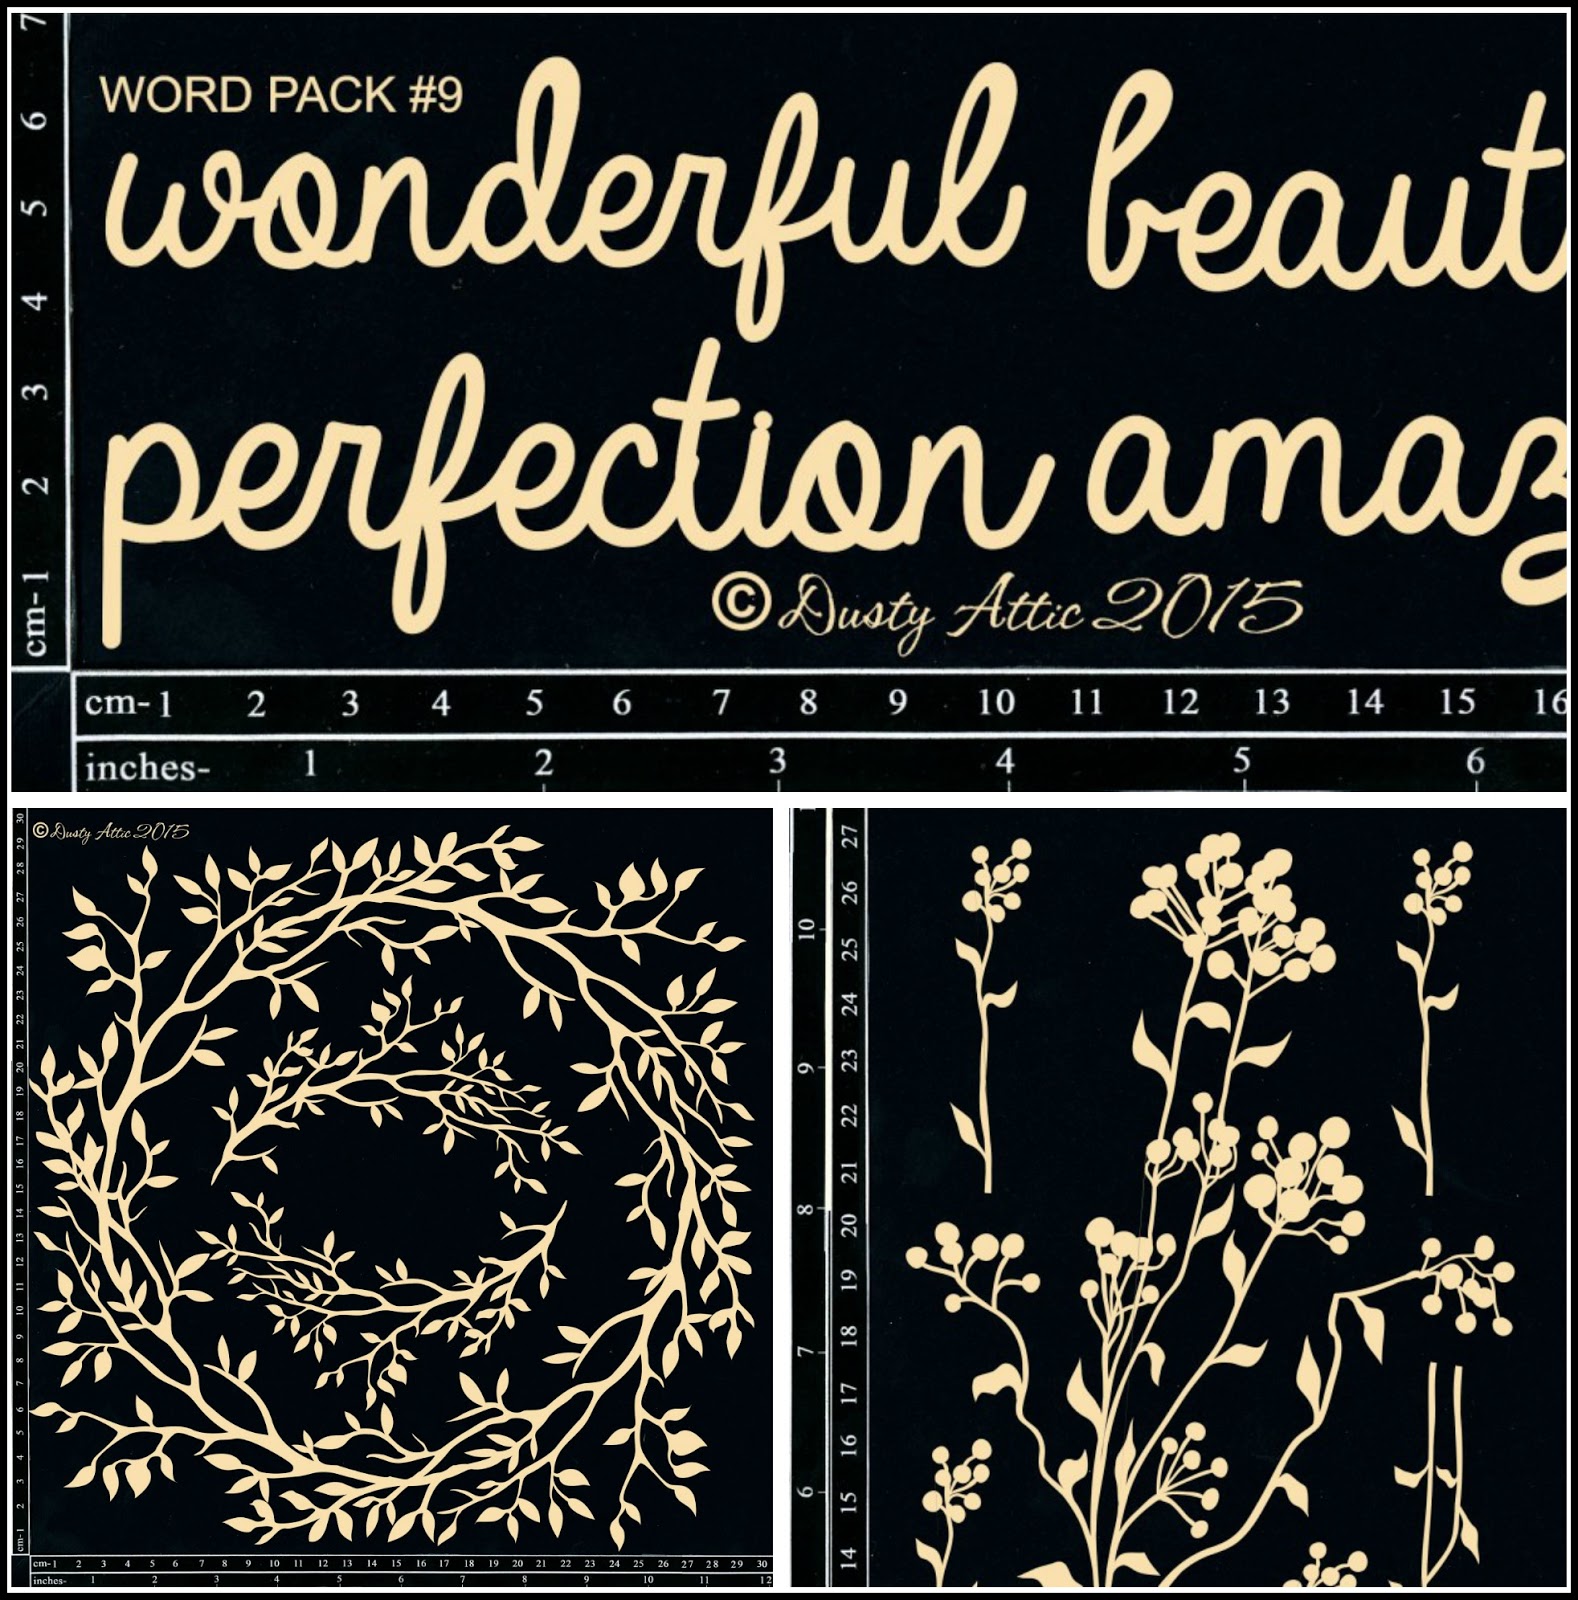
These are the Dusty Attic chipboard pieces that I used.


This is the Dusty Attic Stencil.

Thank you for visiting my blog. Please join us in creating something with this beautiful mood board. You can visit the Dusty Attic website for more beautiful chipboard designs.