Hello everyone!
I am sharing my layout created for the Dusty Attic July mood board challenge. I am sure you will agree with me that his mood board is just stunning. I absolutely adore it!
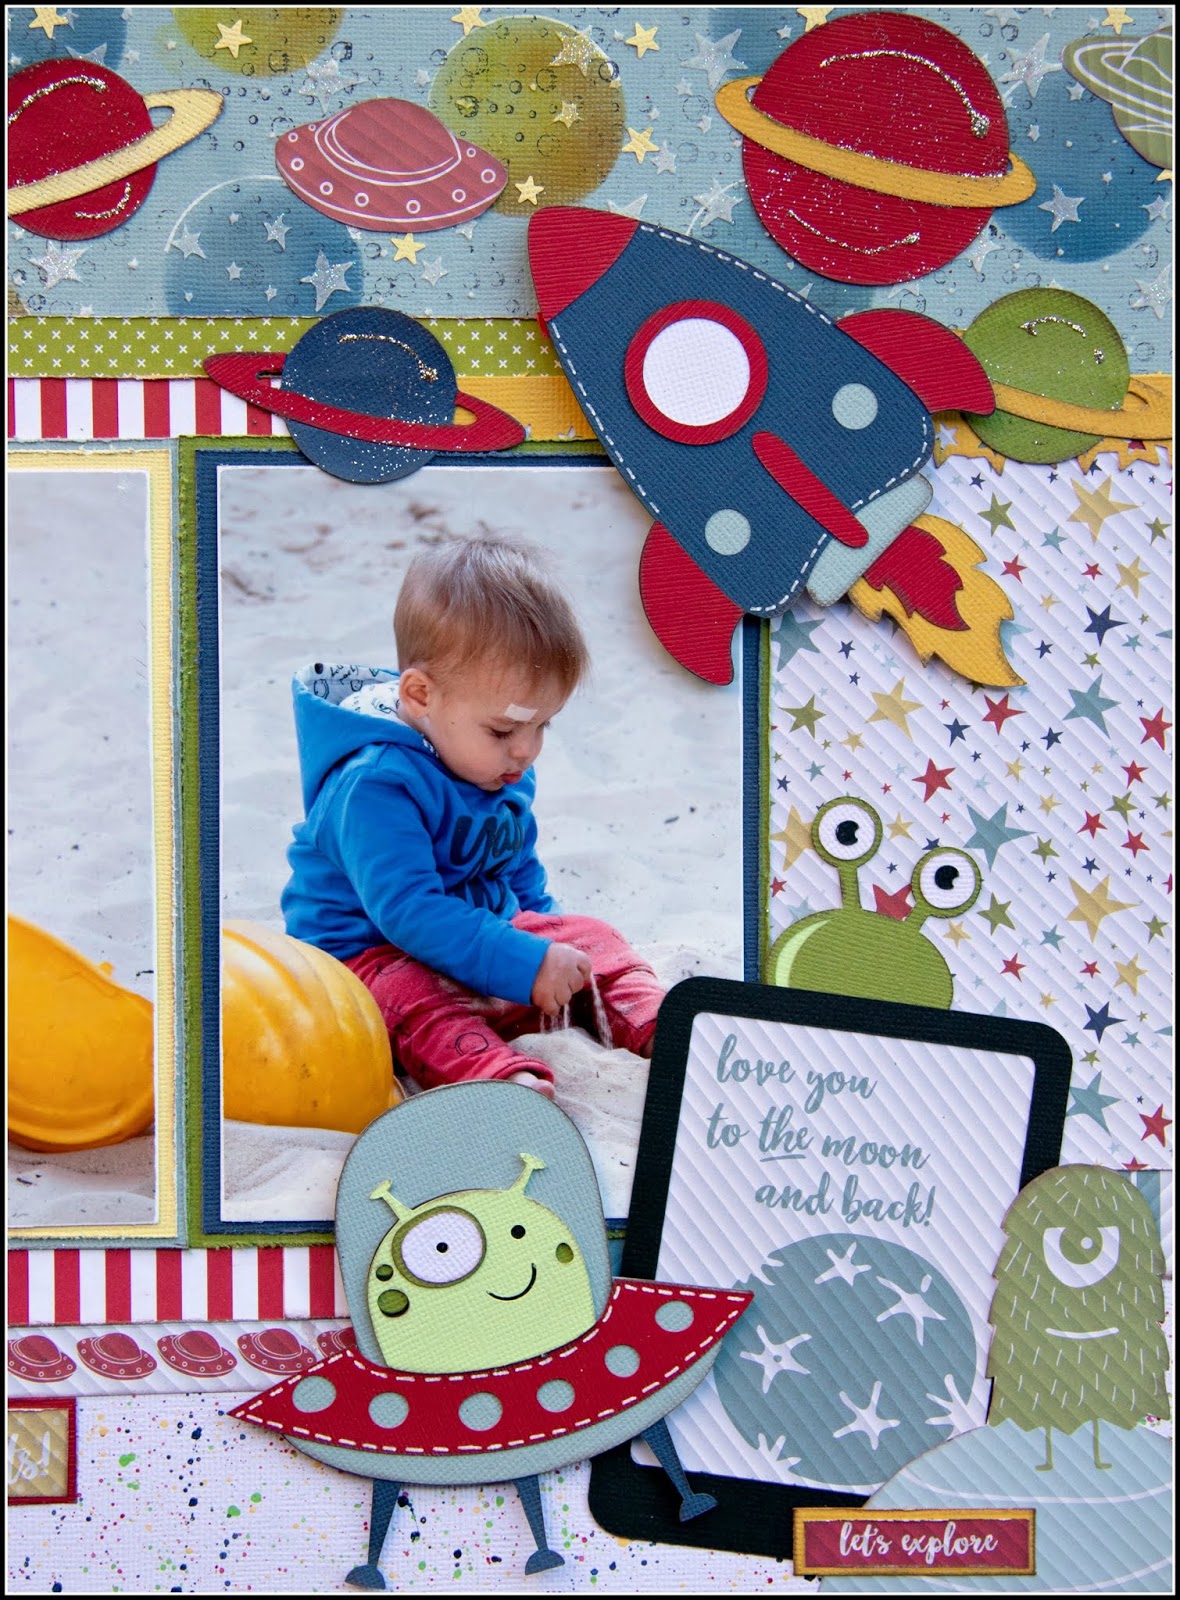
I used photos of my beautiful daughter I photographed a few years ago. She is my treasure. I laugh with her, dream with her and cry with her. She is beautiful inside and out. Her smile makes me smile. Her laugh is infectious and her heart is pure and true. She is compassionate, loving, smart and talented. I love her with all my heart.
Here is the mood board.


This is how I treated the chippies.
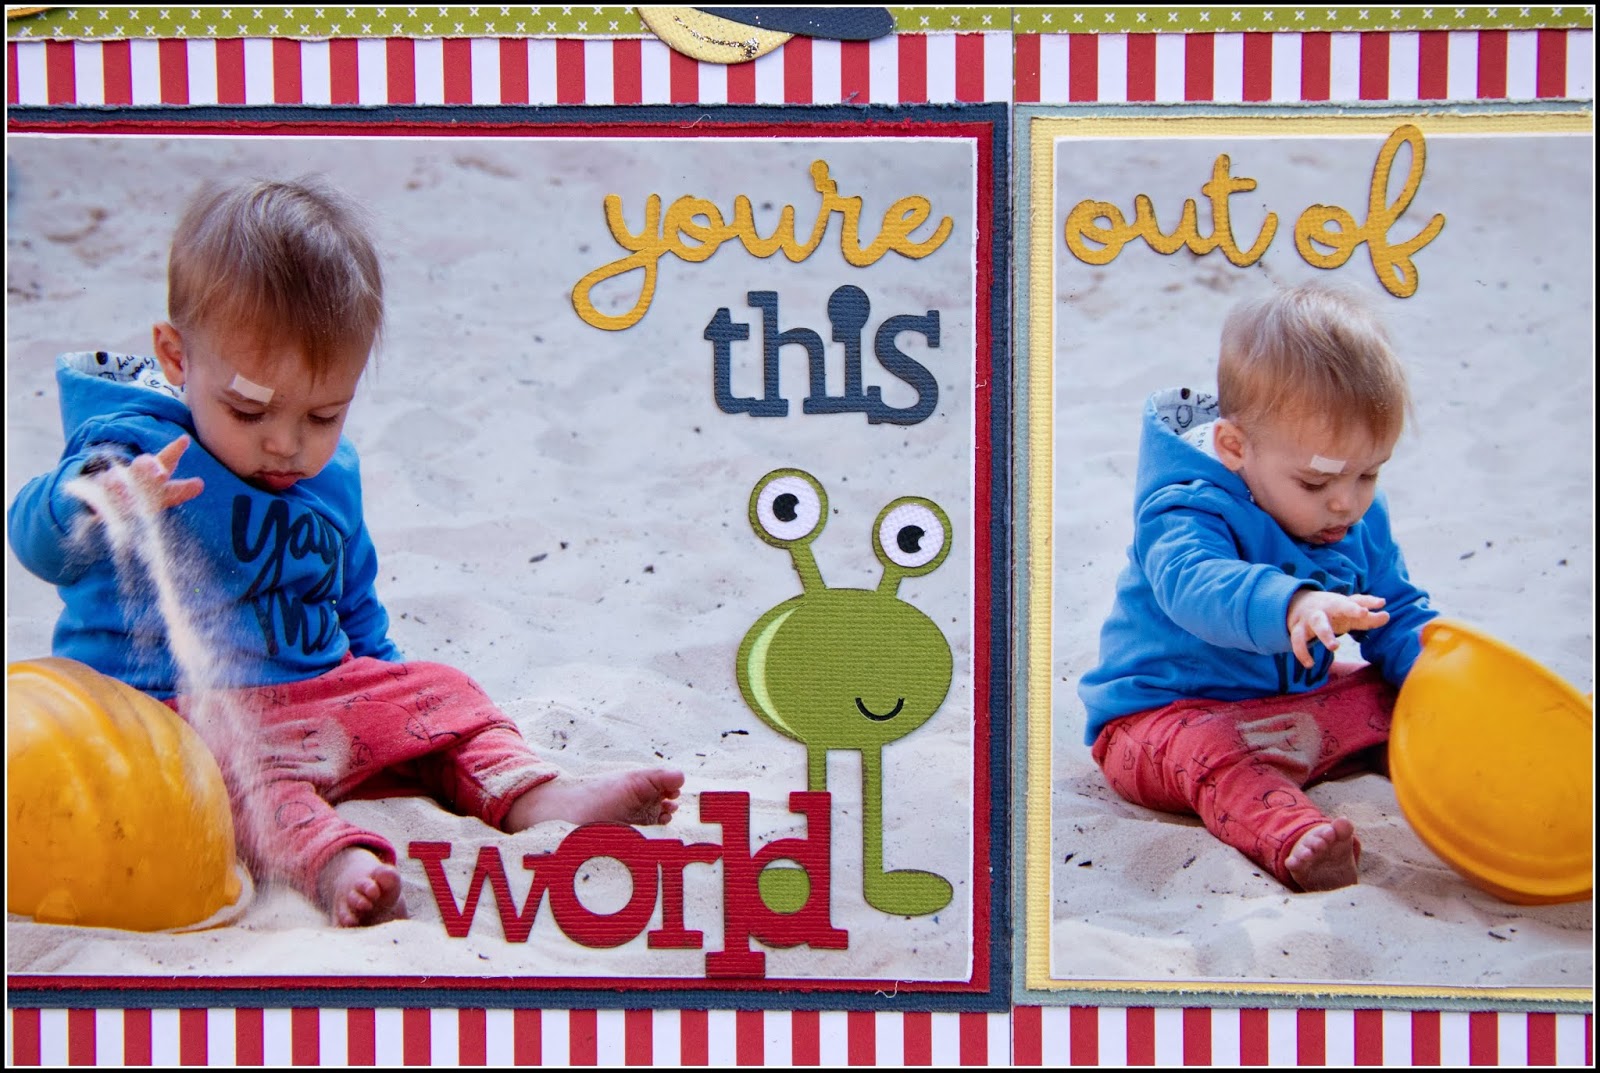
 Picture Perfect title and Foliage #14 was first covered with white gesso and then embossed with white embossing powder. I wanted my title to stand out as my layout already has a lot of colour.

 The Whimsy Frame was painted with Americana acrylic paint in Bahama Blue and embossed with clear embossing powder. These frames are perfect to frame a photo or a quote like I did here, and they come in all shapes and sizes.
 I covered the Foliage #2 with a layer of white crackle texture paste. Once the crackle had completely dried I added Lindy's C'est la vie Cerise and Tibetan Poppy Teal sprays . I then added some finishing touches to the Foliage with Art Alchemy Wax in Vintage Gold.

The Branches and Berries were painted with Americana Acrylic paint in Melon and Green Mist and I covered the berries with Glossy Accents.
 The Foliage was first covered with coarse gesso and once dried I covered the foliage with white acrylic paint. After that was dried I added some Art Alchemy Wax in Vintage Gold and Peacock.
 I embossed the Leaves #2 with turquoise Iced Enamels Relique Powder.


 DA1053 - Picture Perfect
DA2233 - Foliage #14
I am sharing my layout created for the Dusty Attic July mood board challenge. I am sure you will agree with me that his mood board is just stunning. I absolutely adore it!
I used photos of my beautiful daughter I photographed a few years ago. She is my treasure. I laugh with her, dream with her and cry with her. She is beautiful inside and out. Her smile makes me smile. Her laugh is infectious and her heart is pure and true. She is compassionate, loving, smart and talented. I love her with all my heart.
Here is the mood board.

and here is my layout.


The Branches and Berries were painted with Americana Acrylic paint in Melon and Green Mist and I covered the berries with Glossy Accents.


and some more close ups.


These are the Dusty Attic chipboard pieces that I used.


DA2233 - Foliage #14
DA1805 - mini Tabs #3 Black
DA0729 -Branches and Berries
DA1292 - Foliage #2
DA1342 - Leaves #2
DA1870 - Foliage #8
DA0729 -Branches and Berries
DA1292 - Foliage #2
DA1342 - Leaves #2
DA1870 - Foliage #8
Thank you for visiting my blog. I hope you find some time to play along with this beautiful mood board. Please visit the Dusty Attic online store for more amazing chipboard design and new exciting designs.
Happy crafting!

Happy crafting!